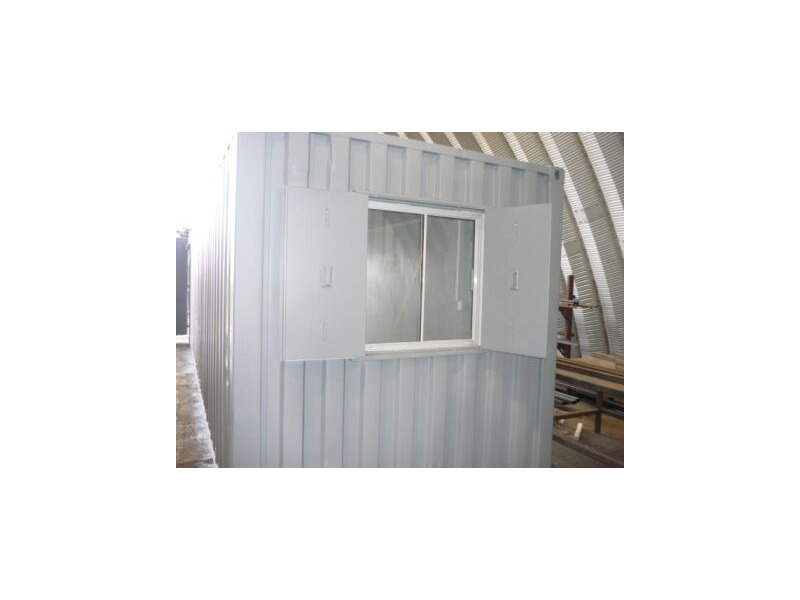
Shipping Container Conversions 30ft Conversion
CS22973
Pricing
Call For Delivery Costs: 0800 061 2575
Example Product - call to discuss your own requirements
CD Code CS22973
Our client required a 30ft container, and as these are not a standard size, we used a 40ft shipping container, cut down to size.
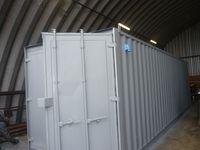
The client chose our premium S3 style doors to replace the original shipping container doors. Easier to handle, but including a protective rubber seal and two secure, locking arms, these top of the range doors are unique to Containers Direct.
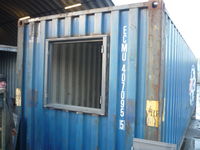
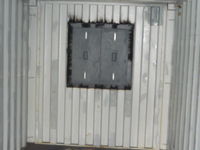
The client requested a window in the front end of the container, so the first step was to measure and cut an aperture to the correct size and position.
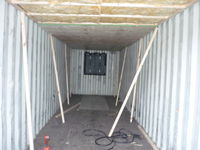
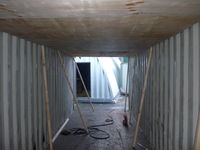
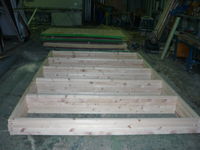
For this job, we used 12mm plywood to create a timber frame, packed this with 100mm rockwall (a highly effective insulating material), and enclosed this with timber boards, sealed off with beading around the edges. To find out more about this process, take a look at our article Ply Lined Containers
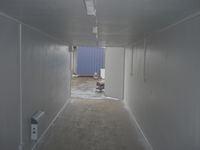
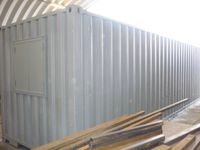
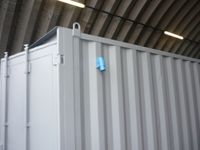
We were asked to paint both the exterior and interior of the container, in light grey. Inside, paint was applied directly over the ply lining, and a special, rubberised container paint, in the same shade, used for the outside.
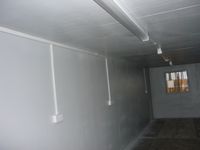
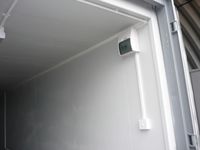
This conversion called for 3 double sockets, 3 strip lights, a consumer unit and external hook up.
The final touch to complete the container is putting in the glazed window.
The conversion is now complete, and ready to be dispatched to out client, as a new premises for a yatch company on the Isle of Wight. We arranged delivery down to Southampton, so the container could complete its journey via ferry. Once back on dry land, the container will be used as a split office/workshop.
Features
Design
Special Features
- Ply Lined and Insulated
- Premium S3 doors
- Glazed window
- Repainted exterior AND interior
- Electrics
The conversion process step-by-step
Step 1 - Cutting down to size
Our client required a 30ft container, and as these are not a standard size, we used a 40ft shipping container, cut down to size.
Step 2 - Creating new doors
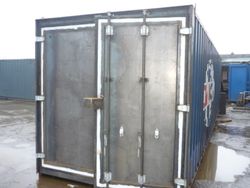
The client chose our premium S3 style doors to replace the original shipping container doors. Easier to handle, but including a protective rubber seal and two secure, locking arms, these top of the range doors are unique to Containers Direct.
Step 3 - Making the window
The client requested a window in the front end of the container, so the first step was to measure and cut an aperture to the correct size and position.

Step 4 - Lining and insulating
For this job, we used 12mm plywood to create a timber frame, packed this with 100mm rockwall (a highly effective insulating material), and enclosed this with timber boards, sealed off with beading around the edges. To find out more about this process, take a look at our article Ply Lined Containers
Step 5 - Painting
We were asked to paint both the exterior and interior of the container, in light grey. Inside, paint was applied directly over the ply lining, and a special, rubberised container paint, in the same shade, used for the outside.
Step 6 - Installing Electrics
This conversion called for 3 double sockets, 3 strip lights, a consumer unit and external hook up.
Step 7 - Adding the window
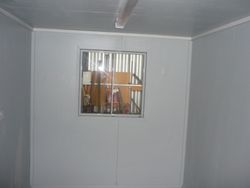
The final touch to complete the container is putting in the glazed window.
Destination Isle of Wight!
The conversion is now complete, and ready to be dispatched to out client, as a new premises for a yatch company on the Isle of Wight. We arranged delivery down to Southampton, so the container could complete its journey via ferry. Once back on dry land, the container will be used as a split office/workshop.
The CAD
As with any product, specification is subject to change without prior notification. You are advised to confirm current specification before buying.

